WebGPU Uniforms (part 2)
WebGPU是WebGPU标准的一部分,由Khronos Group领导的WebGPU工作组制定,是一种为Web公开GPU硬件功能的API。它提供对网络上硬件的图形和计算能力的访问,旨在提供基于现代GPU的高性能、低延迟的图形渲染服务。
到目前为止,我们在着色器中使用的所有数据都是硬编码的(顶点着色器中的三角形顶点位置,以及片段着色器中的颜色)。现在我们可以将值传递到我们的着色器中,我们可以使用不同的数据多次调用 draw 。
我们可以通过更新我们的单个缓冲区在不同的地方绘制不同的偏移量、比例和颜色。要谨记,虽然我们的命令被放入命令缓冲区,但在我们submit它们之前它们并没有真正执行。所以不能这样做。
    // BAD!
    for (let x = -1; x < 1; x += 0.1) {
      uniformValues.set([x, x], kOffsetOffset);
      device.queue.writeBuffer(uniformBuffer, 0, uniformValues);
      pass.draw(3);
    }
    pass.end();

    // Finish encoding and submit the commands
    const commandBuffer = encoder.finish();
    device.queue.submit([commandBuffer]);
因为,正如您在上面看到的, device.queue.xxx 函数发生在“队列”上,而 pass.xxx 函数只是在命令缓冲区中对命令进行编码。
当我们实际使用我们的命令缓冲区调用 submit 时,缓冲区中唯一的东西就是我们写入的最后一个值。
我们可以改成这样。
    // BAD! Slow!
    for (let x = -1; x < 1; x += 0.1) {
      uniformValues.set([x, 0], kOffsetOffset);
      device.queue.writeBuffer(uniformBuffer, 0, uniformValues);

      const encoder = device.createCommandEncoder();
      const pass = encoder.beginRenderPass(renderPassDescriptor);
      pass.setPipeline(pipeline);
      pass.setBindGroup(0, bindGroup);
      pass.draw(3);
      pass.end();

      // Finish encoding and submit the commands
      const commandBuffer = encoder.finish();
      device.queue.submit([commandBuffer]);
    }
上面的代码更新一个缓冲区,创建一个命令缓冲区,添加绘制一件事的命令,然后完成命令缓冲区并提交。这行得通,但由于多种原因速度很慢。最大的是在单个命令缓冲区中完成更多工作是最佳实践。
因此,我们可以为每个要绘制的对象创建一个统一缓冲区。而且,由于缓冲区是通过绑定组间接使用的,因此我们还需要为每个我们想要绘制的对象使用一个绑定组。然后我们可以将所有我们想要绘制的东西放入一个命令缓冲区中。
首先让我们做一个随机函数。
// A random number between [min and max)
// With 1 argument it will be [0 to min)
// With no arguments it will be [0 to 1)
const rand = (min, max) => {
  if (min === undefined) {
    min = 0;
    max = 1;
  } else if (max === undefined) {
    max = min;
    min = 0;
  }
  return min + Math.random() * (max - min);
};
现在让我们用一堆颜色和偏移设置缓冲区,我们可以绘制一堆单独的东西。
  // offsets to the various uniform values in float32 indices
  const kColorOffset = 0;
  const kScaleOffset = 4;
  const kOffsetOffset = 6;

  const kNumObjects = 100;
  const objectInfos = [];

  for (let i = 0; i < kNumObjects; ++i) {
    const uniformBuffer = device.createBuffer({
      label: `uniforms for obj: ${i}`,
      size: uniformBufferSize,
      usage: GPUBufferUsage.UNIFORM | GPUBufferUsage.COPY_DST,
    });

    // create a typedarray to hold the values for the uniforms in JavaScript
    const uniformValues = new Float32Array(uniformBufferSize / 4);
 // uniformValues.set([0, 1, 0, 1], kColorOffset);        // set the color
 // uniformValues.set([-0.5, -0.25], kOffsetOffset);      // set the offset
    uniformValues.set([rand(), rand(), rand(), 1], kColorOffset);        // set the color
    uniformValues.set([rand(-0.9, 0.9), rand(-0.9, 0.9)], kOffsetOffset);      // set the offset

    const bindGroup = device.createBindGroup({
      label: `bind group for obj: ${i}`,
      layout: pipeline.getBindGroupLayout(0),
      entries: [
        { binding: 0, resource: { buffer: uniformBuffer }},
      ],
    });

    objectInfos.push({
      scale: rand(0.2, 0.5),
      uniformBuffer,
      uniformValues,
      bindGroup,
    });
  }
我们还没有在我们的缓冲区中设置,因为我们希望它考虑画布的外观,并且在渲染时间之前我们不会知道画布的外观。
在渲染时,我们将使用正确的纵横比调整比例更新所有缓冲区。
  function render() {
    // Set the uniform values in our JavaScript side Float32Array
    //const aspect = canvas.width / canvas.height;
    //uniformValues.set([0.5 / aspect, 0.5], kScaleOffset); // set the scale

    // copy the values from JavaScript to the GPU
    //device.queue.writeBuffer(uniformBuffer, 0, uniformValues);

    // Get the current texture from the canvas context and
    // set it as the texture to render to.
    renderPassDescriptor.colorAttachments[0].view =
        context.getCurrentTexture().createView();

    const encoder = device.createCommandEncoder();
    const pass = encoder.beginRenderPass(renderPassDescriptor);
    pass.setPipeline(pipeline);

    // Set the uniform values in our JavaScript side Float32Array
    const aspect = canvas.width / canvas.height;

    for (const {scale, bindGroup, uniformBuffer, uniformValues} of objectInfos) {
      uniformValues.set([scale / aspect, scale], kScaleOffset); // set the scale
      device.queue.writeBuffer(uniformBuffer, 0, uniformValues);
       pass.setBindGroup(0, bindGroup);
       pass.draw(3);  // call our vertex shader 3 times
    }
    pass.end();

    const commandBuffer = encoder.finish();
    device.queue.submit([commandBuffer]);
  }
同样,请记住 encoder 和 pass 对象只是将命令编码到命令缓冲区中。所以当 render 函数存在时,我们已经有效地按此顺序发出了这些命令。
device.queue.writeBuffer(...) // update uniform buffer 0 with data for object 0
device.queue.writeBuffer(...) // update uniform buffer 1 with data for object 1
device.queue.writeBuffer(...) // update uniform buffer 2 with data for object 2
device.queue.writeBuffer(...) // update uniform buffer 3 with data for object 3
...
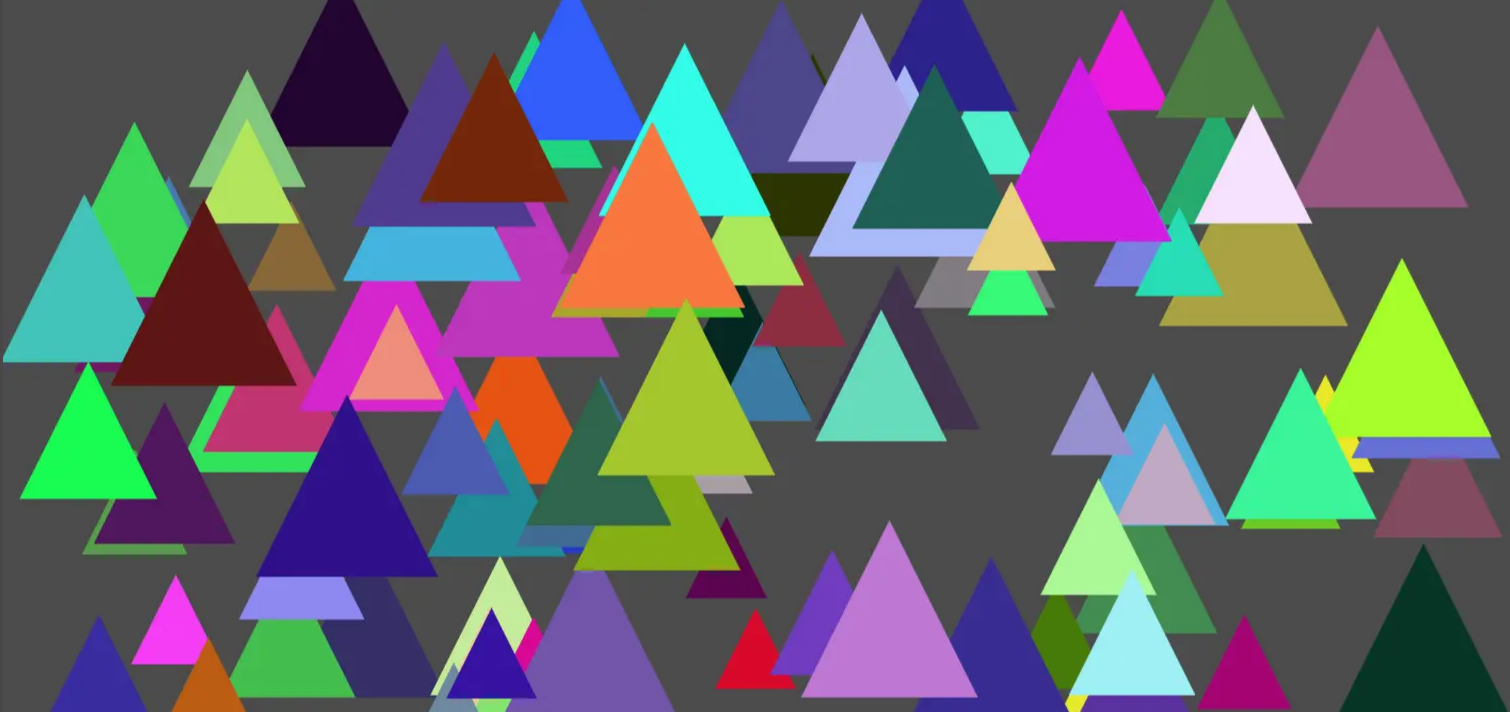
// execute commands that draw 100 things, each with their own uniform buffer.
device.queue.submit([commandBuffer]);结果如下:
当我们在这里时,还有一件事要讲。您可以在着色器中自由引用多个统一缓冲区。在我们上面的示例中,每次绘制时都会更新比例scale,然后我们 writeBuffer 将该对象的 uniformValues 上传到相应的统一缓冲区。但是,只有比例更新,颜色和偏移量没有更新,所以我们在上传颜色和偏移量浪费了时间。
我们可以将uniforms 分成需要设置一次的uniforms 和每次绘制时更新的uniforms 。
  const module = device.createShaderModule({
    code: `
      struct OurStruct {
        color: vec4f,
       // scale: vec2f,
        offset: vec2f,
      };

      struct OtherStruct {
        scale: vec2f,
      };

      @group(0) @binding(0) var<uniform> ourStruct: OurStruct;
      @group(0) @binding(1) var<uniform> otherStruct: OtherStruct;

      @vertex fn vs(
        @builtin(vertex_index) vertexIndex : u32
      ) -> @builtin(position) vec4f {
        var pos = array<vec2f, 3>(
          vec2f( 0.0,  0.5),  // top center
          vec2f(-0.5, -0.5),  // bottom left
          vec2f( 0.5, -0.5)   // bottom right
        );

        return vec4f(
         // pos[vertexIndex] * ourStruct.scale + ourStruct.offset, 0.0, 1.0);
          pos[vertexIndex] * otherStruct.scale + ourStruct.offset, 0.0, 1.0);
      }

      @fragment fn fs() -> @location(0) vec4f {
        return ourStruct.color;
      }
    `,
  });
当我们想要绘制的每个东西都需要 2 个uniform 缓冲区。
// create a buffer for the uniform values
//const uniformBufferSize =
// 4 * 4 + // color is 4 32bit floats (4bytes each)
// 2 * 4 + // scale is 2 32bit floats (4bytes each)
// 2 * 4; // offset is 2 32bit floats (4bytes each)
// offsets to the various uniform values in float32 indices
//const kColorOffset = 0;
//const kScaleOffset = 4;
//const kOffsetOffset = 6;
// create 2 buffers for the uniform values
const staticUniformBufferSize =
4 * 4 + // color is 4 32bit floats (4bytes each)
2 * 4 + // offset is 2 32bit floats (4bytes each)
2 * 4; // padding
const uniformBufferSize =
2 * 4; // scale is 2 32bit floats (4bytes each)
// offsets to the various uniform values in float32 indices
const kColorOffset = 0;
const kOffsetOffset = 4;
const kScaleOffset = 0;
const kNumObjects = 100;
const objectInfos = [];
for (let i = 0; i < kNumObjects; ++i) {
const staticUniformBuffer = device.createBuffer({
label: `static uniforms for obj: ${i}`,
size: staticUniformBufferSize,
usage: GPUBufferUsage.UNIFORM | GPUBufferUsage.COPY_DST,
});
// These are only set once so set them now
{
//const uniformValues = new Float32Array(uniformBufferSize / 4);
const uniformValues = new Float32Array(staticUniformBufferSize / 4);
uniformValues.set([rand(), rand(), rand(), 1], kColorOffset); // set the color
uniformValues.set([rand(-0.9, 0.9), rand(-0.9, 0.9)], kOffsetOffset); // set the offset
// copy these values to the GPU
//device.queue.writeBuffer(uniformBuffer, 0, uniformValues);
device.queue.writeBuffer(staticUniformBuffer, 0, uniformValues);
}
// create a typedarray to hold the values for the uniforms in JavaScript
const uniformValues = new Float32Array(uniformBufferSize / 4);
const uniformBuffer = device.createBuffer({
label: `changing uniforms for obj: ${i}`,
size: uniformBufferSize,
usage: GPUBufferUsage.UNIFORM | GPUBufferUsage.COPY_DST,
});
const bindGroup = device.createBindGroup({
label: `bind group for obj: ${i}`,
layout: pipeline.getBindGroupLayout(0),
entries: [
{ binding: 0, resource: { buffer: staticUniformBuffer }},
{ binding: 1, resource: { buffer: uniformBuffer }}, //<<===here
],
});
objectInfos.push({
scale: rand(0.2, 0.5),
uniformBuffer,
uniformValues,
bindGroup,
});
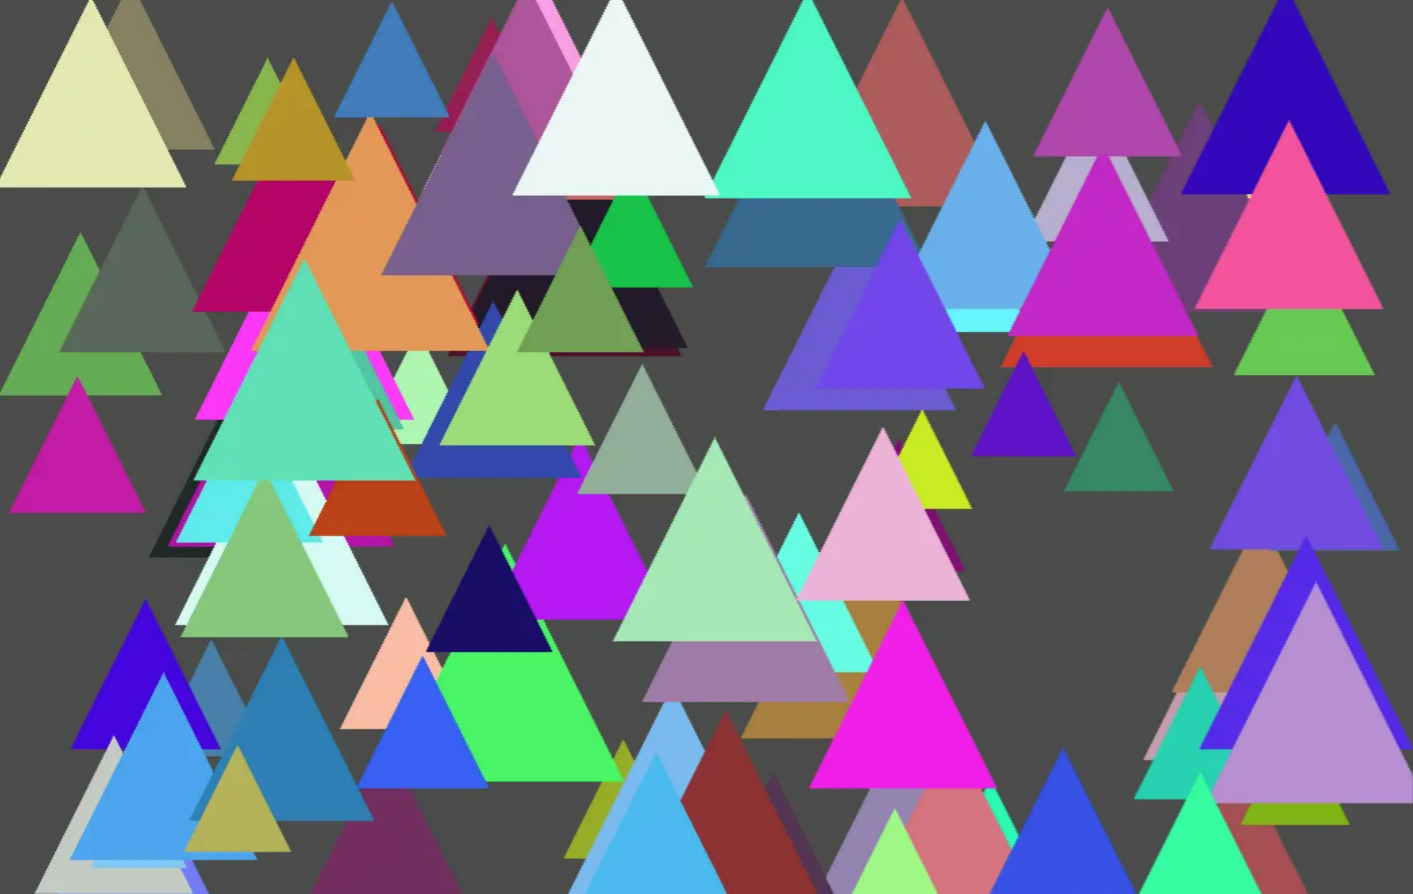
}我们的渲染代码没有任何变化。每个对象的绑定组包含对每个对象的两个uniform 缓冲区的引用。就像我们更新比例之前一样。但是现在我们只在调用 device.queue.writeBuffer 更新保存比例值的统一缓冲区时上传比例scale ,而之前的代码需要为每个对象上传 颜色 + 偏移量 + 比例 。
虽然在这个简单的示例中,拆分为多个uniform 缓冲区可能有点过度设计,但通常根据更改的内容和时间进行拆分。示例可能包括一个用于共享矩阵的统一缓冲区。例如项目矩阵、视图矩阵、相机矩阵。由于这些对于我们想要绘制的所有东西来说通常都是相同的,所以我们可以只创建一个缓冲区并让所有对象使用相同的统一缓冲区。
另外,我们的着色器可能会引用另一个统一缓冲区,其中仅包含特定于该对象的内容,例如其世界/模型矩阵和法线矩阵。
另一个统一缓冲区可能包含材料设置。这些设置可能由多个对象共享。